Start Jenkins on DigitalOcean’s Kubernetes Service
DigitalOcean recently released to a set of users their new Kubernetes service which is really great. So, I decided to do yet another Jenkins over Kubernetes tutorial for you. It’s close to what I showed you previously but customized for DigitalOcean. You can grab an instance for as little as $5 per month. It’s the perfect testing ground - cheap and stable. If you don’t already have an account go grab one with this promotion code and get $100 of services on their entire platform:
https://m.do.co/c/cc8f1a680e11
Did you get it? Good. Now let’s install Jenkins and create a ‘Hello, World!’ pipeline. First we’ll need to initialize our helm. Helm is a tool used for Kubernetes package management. First you’ll need to download your kubeconfig from the DigitalOcean website. There is a button for that available as soon as you build a cluster. Once done you should be able to use this file to get information on the cluster nodes. I’ll have just one node so here’s my output:
[kstaykov@manja ~]$ kubectl --kubeconfig ~/Downloads/k8s-1-11-1-do-1-fra1-1540131360772-kubeconfig.yaml get nodes
NAME                  STATUS    ROLES     AGE       VERSION
determined-kare-t8i   Ready     <none>    34m       v1.11.1
[kstaykov@manja ~]$
My config file is called “k8s-1-11-1-do-1-fra1-1540131360772-kubeconfig.yaml” and it’s located in my Downloads folder. I’m using the Manjaro Linux distribution but you should have a close experience to this one whatever the OS you use.
Before we can start with Helm we’ll need to tune the cluster a little bit. Use those commands with your kubeconfig:
kubectl --kubeconfig ~/Downloads/k8s-1-11-1-do-1-fra1-1540131360772-kubeconfig.yaml create serviceaccount --namespace kube-system tiller
kubectl --kubeconfig ~/Downloads/k8s-1-11-1-do-1-fra1-1540131360772-kubeconfig.yaml create clusterrolebinding tiller-cluster-rule --clusterrole=cluster-admin --serviceaccount=kube-system:tiller
kubectl --kubeconfig ~/Downloads/k8s-1-11-1-do-1-fra1-1540131360772-kubeconfig.yaml patch deploy --namespace kube-system tiller-deploy -p '{"spec":{"template":{"spec":{"serviceAccount":"tiller"}}}}'
This will configure account permissions and now we can initialize our Helm.
helm init --kubeconfig ~/Downloads/k8s-1-11-1-do-1-fra1-1540131360772-kubeconfig.yaml
Simple, ah? You just put the same –kubeconfig option like on the kubectl command. Now let’s install the Jenkins:
[kstaykov@manja Downloads]$ helm --kubeconfig ~/Downloads/k8s-1-11-1-do-1-fra1-1540131360772-kubeconfig.yaml install stable/jenkins
NAME:   wrinkled-seagull
LAST DEPLOYED: Sun Oct 21 17:36:22 2018
NAMESPACE: default
STATUS: DEPLOYED

RESOURCES:
==> v1/Secret
NAME                      TYPE    DATA  AGE
wrinkled-seagull-jenkins  Opaque  2     0s

==> v1/ConfigMap
NAME                            DATA  AGE
wrinkled-seagull-jenkins        5     0s
wrinkled-seagull-jenkins-tests  1     0s

==> v1/PersistentVolumeClaim
NAME                      STATUS   VOLUME            CAPACITY  ACCESS MODES  STORAGECLASS  AGE
wrinkled-seagull-jenkins  Pending  do-block-storage  0s

==> v1/Service
NAME                            TYPE          CLUSTER-IP      EXTERNAL-IP  PORT(S)         AGE
wrinkled-seagull-jenkins-agent  ClusterIP     10.245.125.104  <none>       50000/TCP       0s
wrinkled-seagull-jenkins        LoadBalancer  10.245.59.106   <pending>    8080:32690/TCP  0s

==> v1/Deployment
NAME                      DESIRED  CURRENT  UP-TO-DATE  AVAILABLE  AGE
wrinkled-seagull-jenkins  1        1        1           0          0s

==> v1/Pod(related)
NAME                                       READY  STATUS   RESTARTS  AGE
wrinkled-seagull-jenkins-68f6587f87-gb5p2  0/1    Pending  0         0s


NOTES:
1. Get your 'admin' user password by running:
  printf $(kubectl get secret --namespace default wrinkled-seagull-jenkins -o jsonpath="{.data.jenkins-admin-password}" | base64 --decode);echo
2. Get the Jenkins URL to visit by running these commands in the same shell:
  NOTE: It may take a few minutes for the LoadBalancer IP to be available.
        You can watch the status of by running 'kubectl get svc --namespace default -w wrinkled-seagull-jenkins'
  export SERVICE_IP=$(kubectl get svc --namespace default wrinkled-seagull-jenkins --template  "{{ range (index .status.loadBalancer.ingress 0) }}{{ . }}{{ end }}")
  echo http://$SERVICE_IP:8080/login

3. Login with the password from step 1 and the username: admin

For more information on running Jenkins on Kubernetes, visit:
https://cloud.google.com/solutions/jenkins-on-container-engine

[kstaykov@manja Downloads]$
Perfect! Our Jenkins is on its way to be deployed. Within minutes we should be able to see it. The ‘get all’ command will list things nicely for us:
[kstaykov@manja ~]$ kubectl --kubeconfig ~/Downloads/k8s-1-11-1-do-1-fra1-1540131360772-kubeconfig.yaml get all
NAME                                            READY     STATUS    RESTARTS   AGE
pod/wrinkled-seagull-jenkins-68f6587f87-gb5p2   1/1       Running   0          22m

NAME                                     TYPE           CLUSTER-IP       EXTERNAL-IP       PORT(S)          AGE
service/kubernetes                       ClusterIP      10.245.0.1       <none>            443/TCP          39m
service/wrinkled-seagull-jenkins         LoadBalancer   10.245.59.106    104.248.103.227   8080:32690/TCP   22m
service/wrinkled-seagull-jenkins-agent   ClusterIP      10.245.125.104   <none>            50000/TCP        22m

NAME                                       DESIRED   CURRENT   UP-TO-DATE   AVAILABLE   AGE
deployment.apps/wrinkled-seagull-jenkins   1         1         1            1           22m

NAME                                                  DESIRED   CURRENT   READY     AGE
replicaset.apps/wrinkled-seagull-jenkins-68f6587f87   1         1         1         22m
[kstaykov@manja ~]$
Notice that we have a running pod. This means that Jenkins is already available to us. Also notice the loadbalancer on external IP 104.248.103.227 and port 8080. That’s where we’ll find the login page. Your IP of course will be different and before you try anything on mine be aware that this cluster will be long gone by the time you read this.
Now we only need the password for admin user and we’ll be on our way to create our simple pipeline. Review your output from the installation and you’ll see there is a command left for you. Mine is this one:
[kstaykov@manja ~]$ kubectl --kubeconfig ~/Downloads/k8s-1-11-1-do-1-fra1-1540131360772-kubeconfig.yaml get secret --namespace default wrinkled-seagull-jenkins -o jsonpath="{.data.jenkins-admin-password}" | base64 --decode
FKnT59sZAs
[kstaykov@manja ~]$
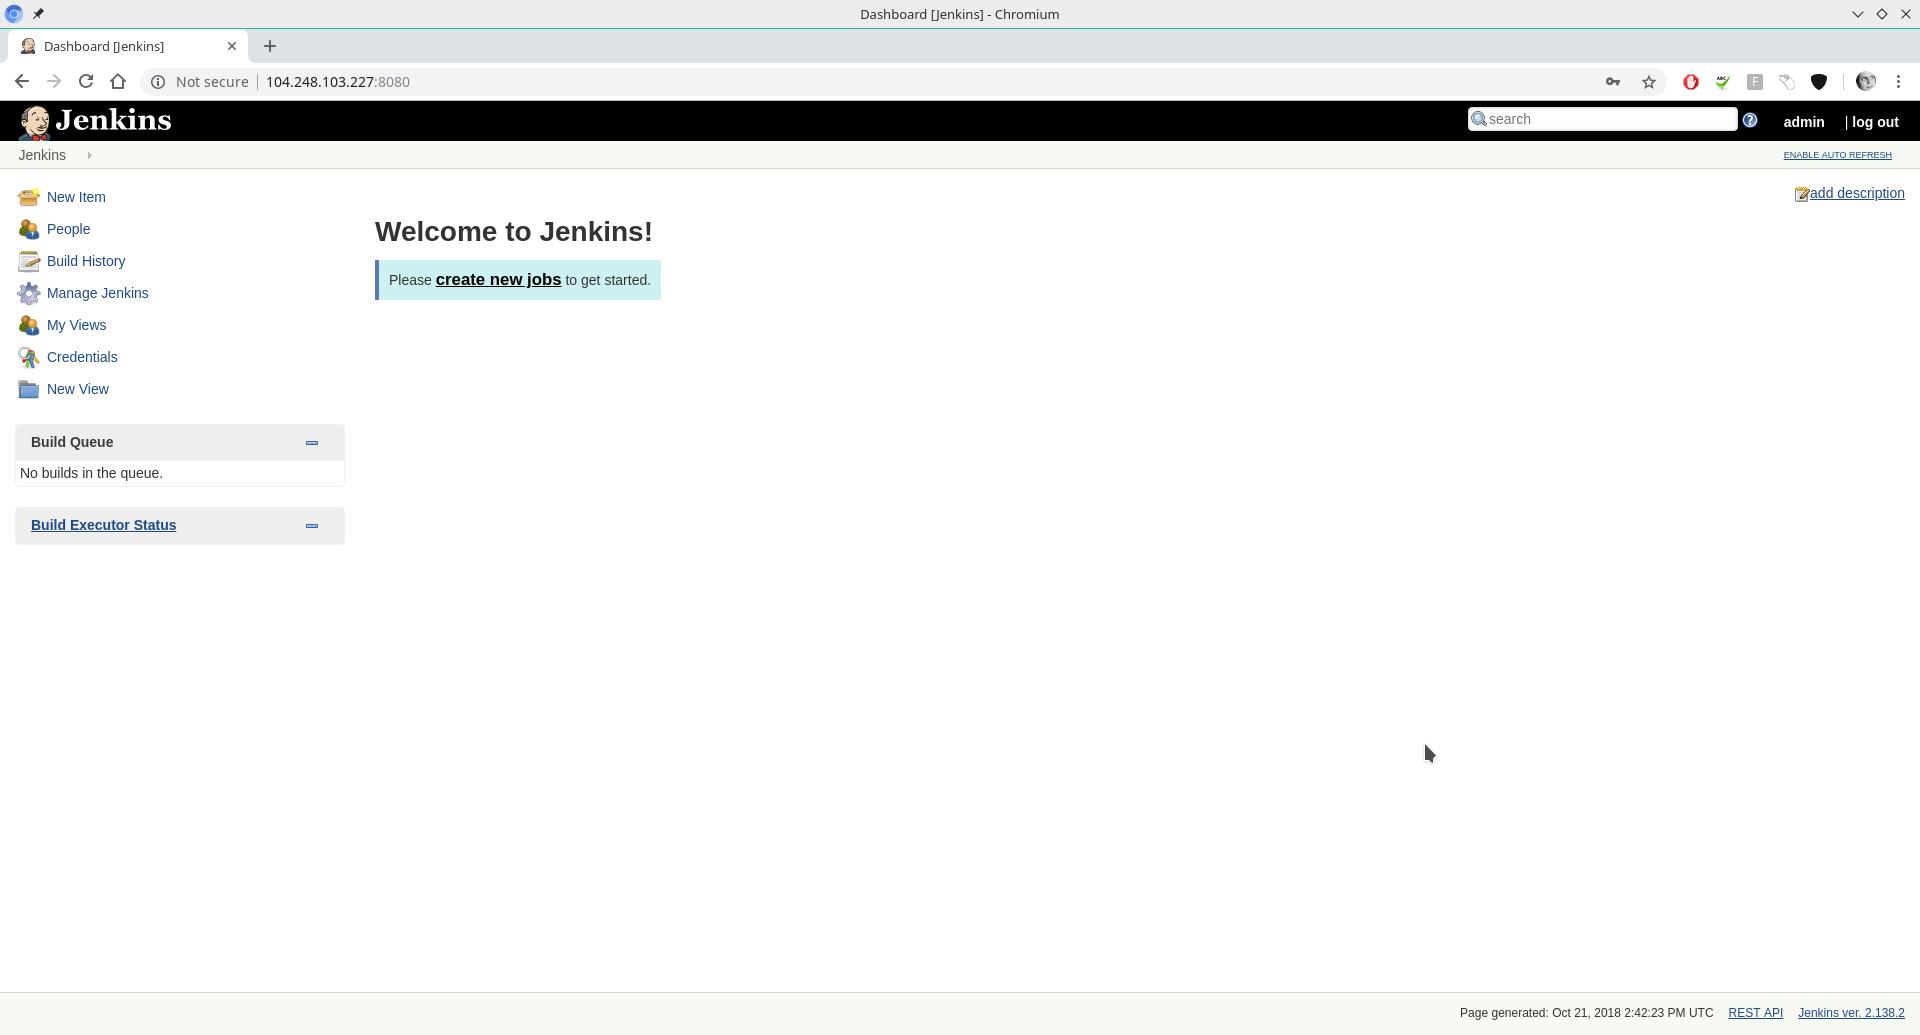
On no, you saw my password! Hehe as I said - long gone by then. Let’s login and we’ll see Jenkins page.
And here’s the execution of our very simple pipeline:
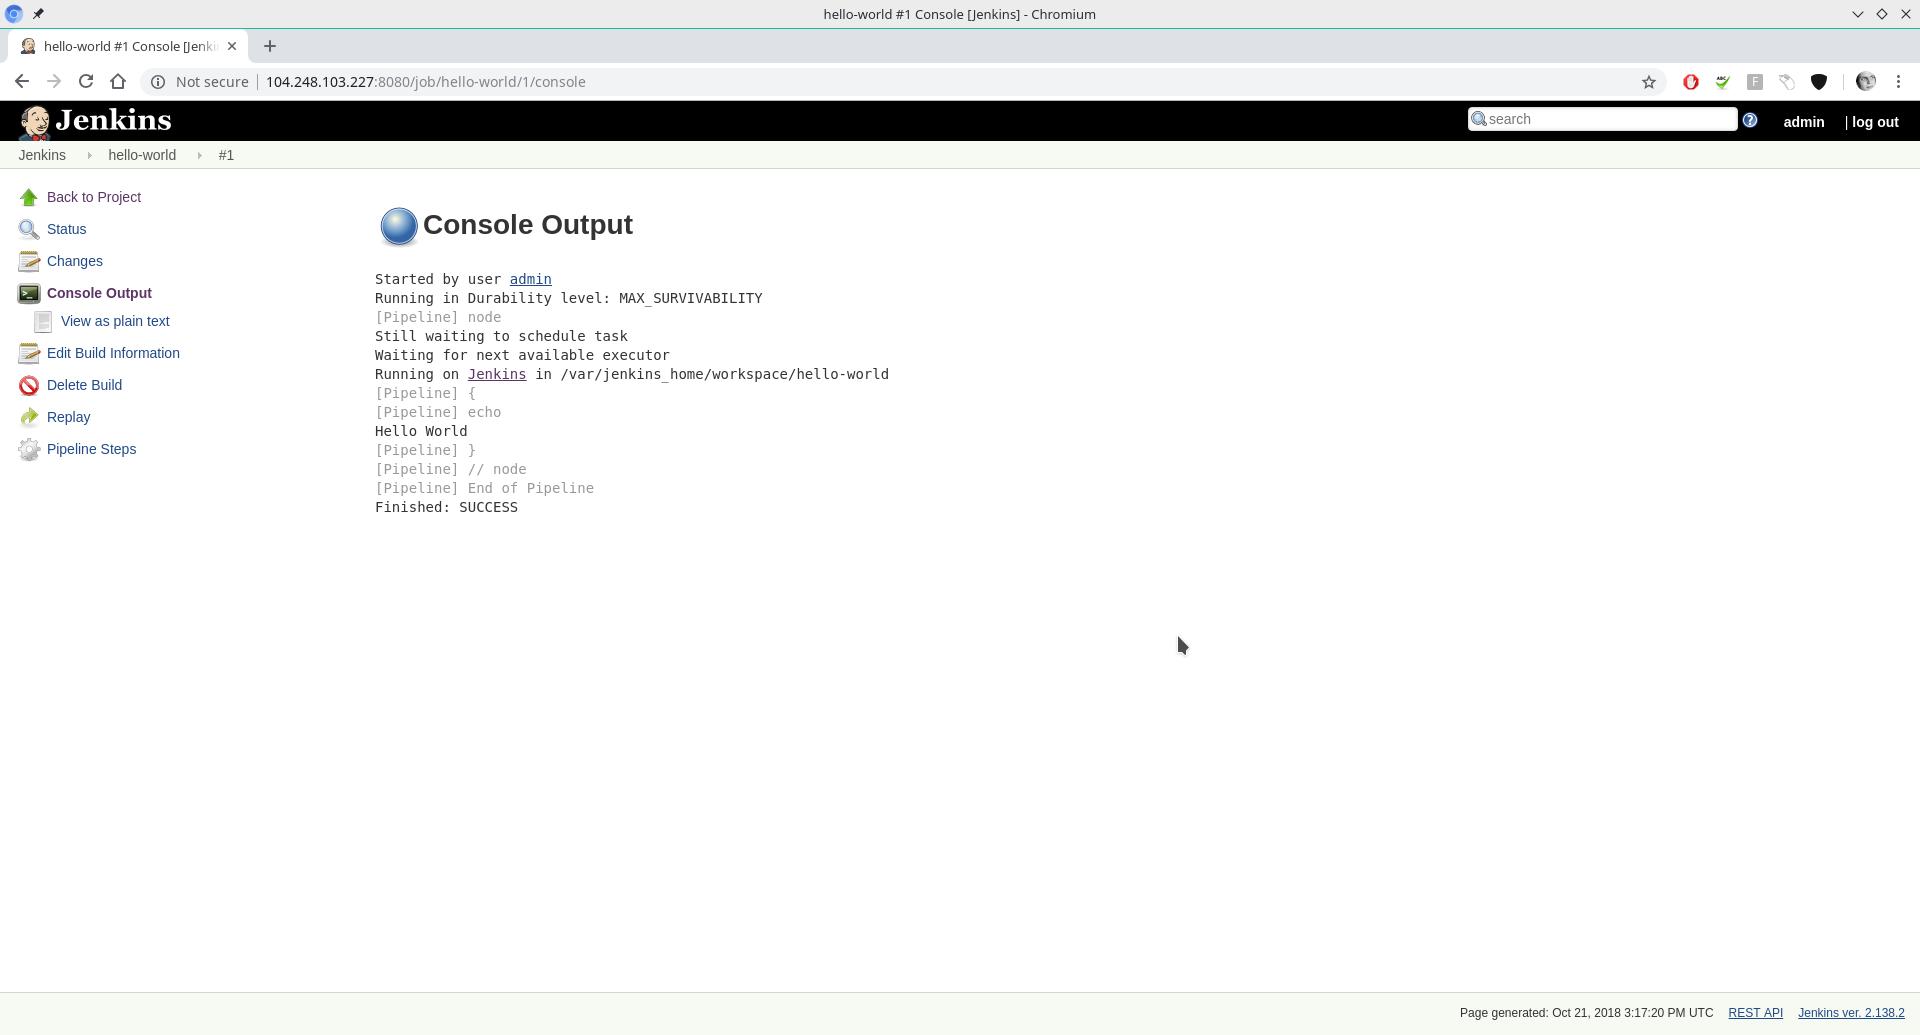
For more information on how this pipeline was built see the privious tutorial here: